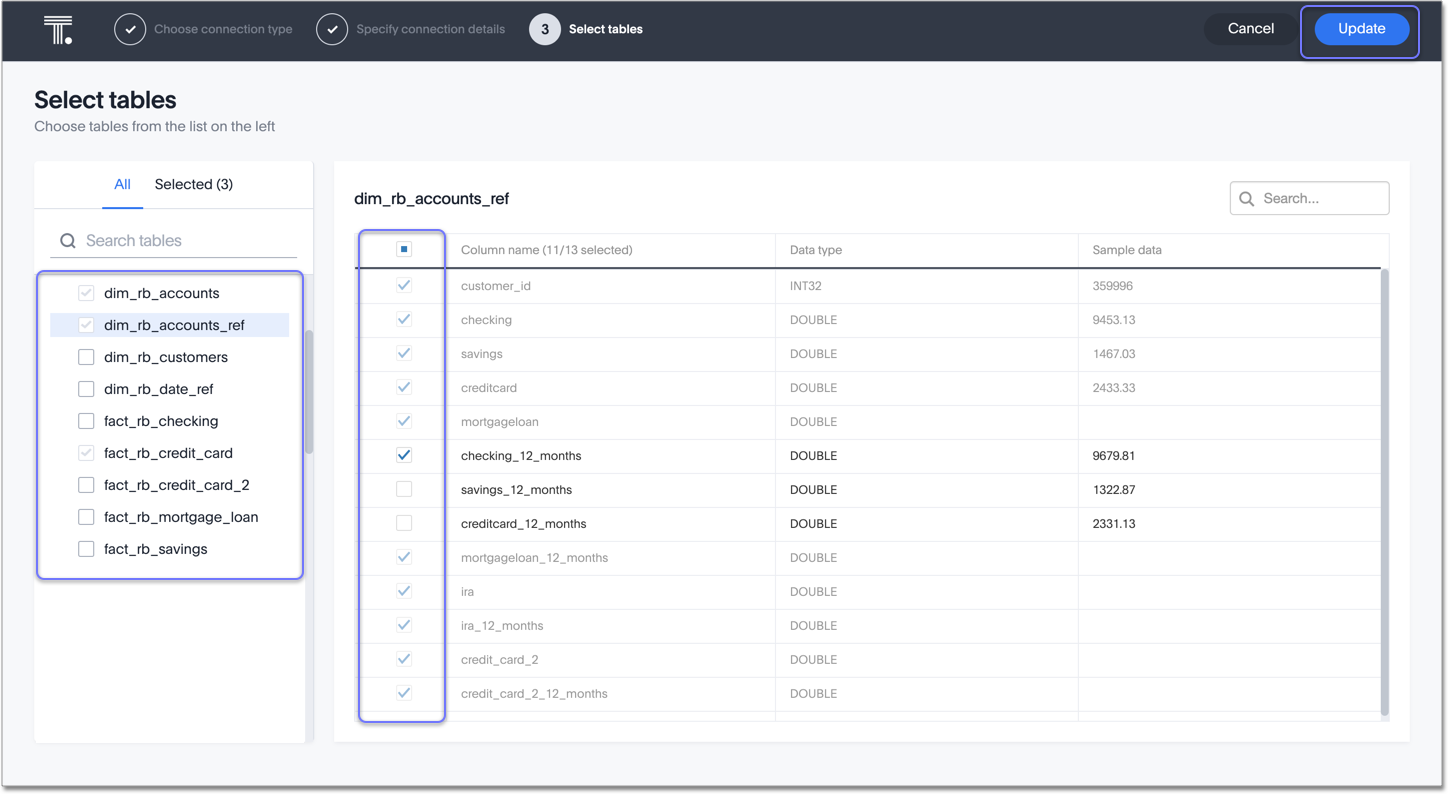
You can edit a Snowflake connection to add tables and columns.
To edit a connection:
-
Click Data in the top navigation bar.
-
Click the Connections tab at the top of the page.
-
Click the name of the connection you want to edit.

-
Click Edit connection at the upper-right-hand side of the page.

-
On the Choose connection type page, change the connection name or description (if needed), and then click Continue.
-
On the Snowflake connection details page, make any changes needed, and then click Continue.
-
Expand the database table drop-down menu, and select the tables and columns you want to add.

-
Click Update, and then click Confirm to save the updated connection detail.
To remove a table from a connection, delete it from the connection details page. For more information, see: Delete a Snowflake connection.
See the Connection reference for details of connection parameters.
We also recommend that you review Best Practices for Snowflake connections